Pickling
We will show you how to pickle cucumbers. The full recipe is at the bottom.
Preparing the Ingredients
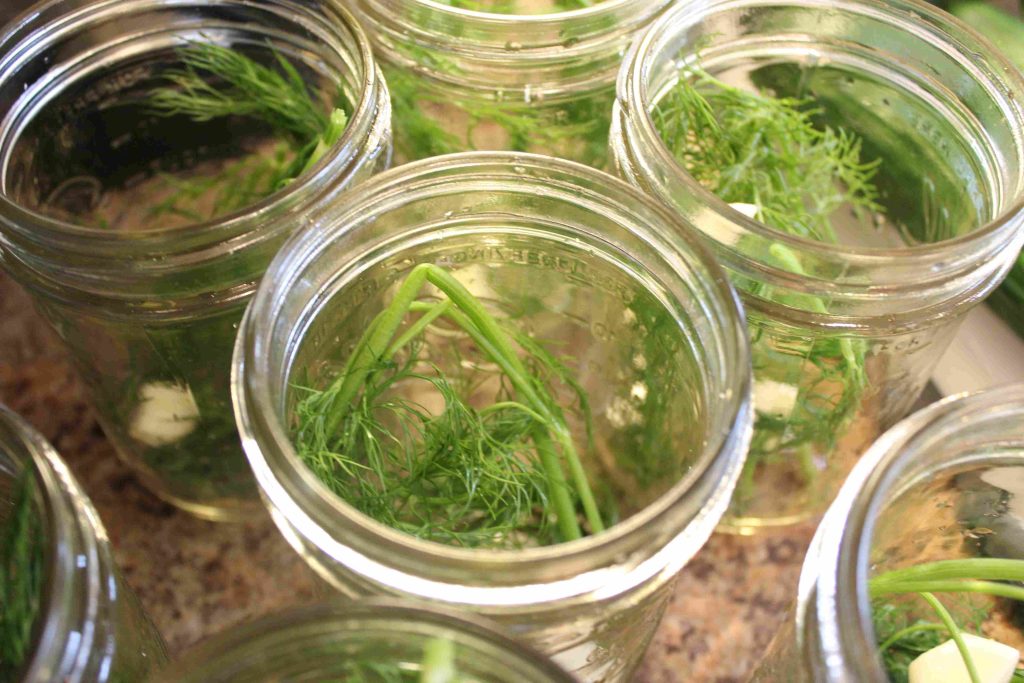
Begin by placing as much dill as is desired into each of the jars. We placed about 1-2 large sprigs of dill. Remember that the flavor of dill is very strong.
Then place a teaspoon of sugar into each jar along with one clove of peeled garlic and one tablespoon of chopped onions. Then add one teaspoon of salt . A lot of people like to use canning salt, but we used kosher salt. Both are fine.
Preparing the Cucumbers
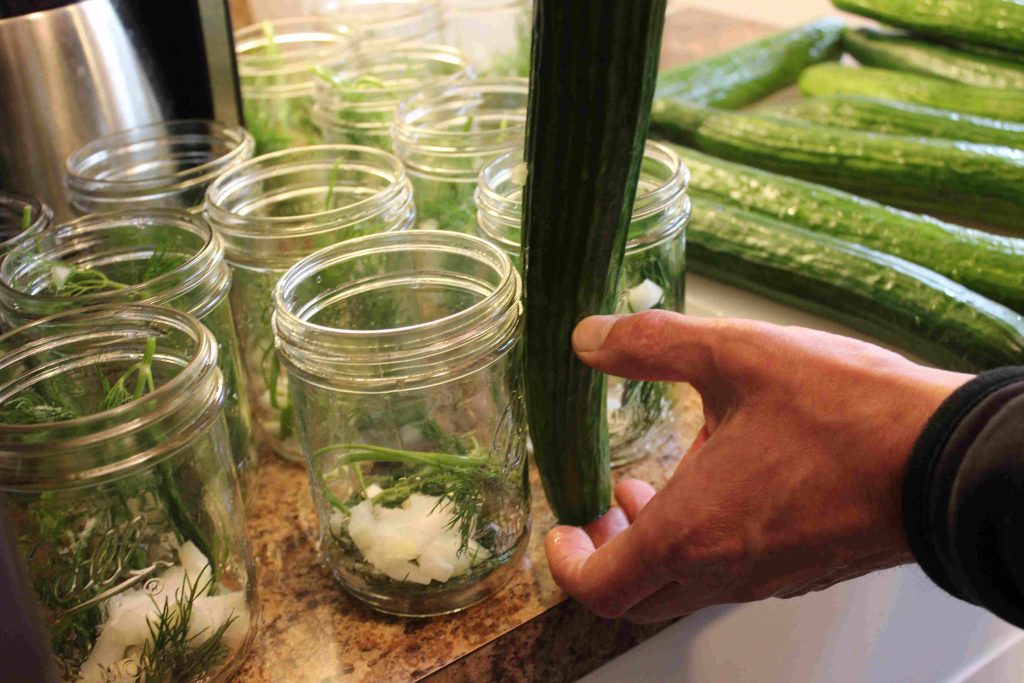
Take out the English cucumbers, and cut off the ends. Then measure how tall they can be to fit in the pickling jars and not extent over the bottom of the upper rim.. Cut them down to that length. Whatever smaller pieces are left from doing this last step set aside for now. Then cut those pieces vertically into quarters so that they are thin strips.
Placing the Cucumbers into the Jars
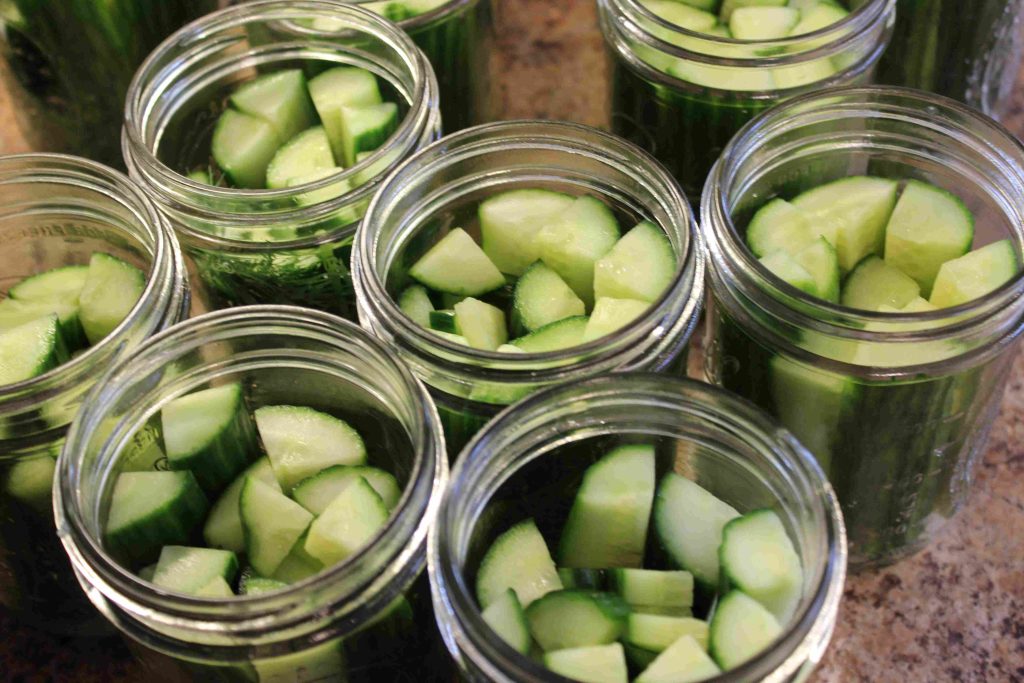
Place the cucumber strips into the jars, and put as many in as will fit. Take those smaller pieces you had to cut off before and that you set aside, and fit those in around the edges now to maximize space. If you are especially desirous of aesthetically pleasing jars, place any oddly shaped pieces of cucumber towards the center where they are less visible. Note: It is very possible that as you are filling the jars, because the garlic, sugar, onion, and salt was added before, that you find the pieces of cucumber are a bit tall. If that is the case, trim them down further. It is important that they do not extend over the bottom of the rim because if they do that, then they will be over the brine at the end of the process.
Begin Making the Brine
Place six cups of water, six cups of white vinegar, and three tablespoons of mustard seeds into a pot on the stove over medium high heat and bring to boil.
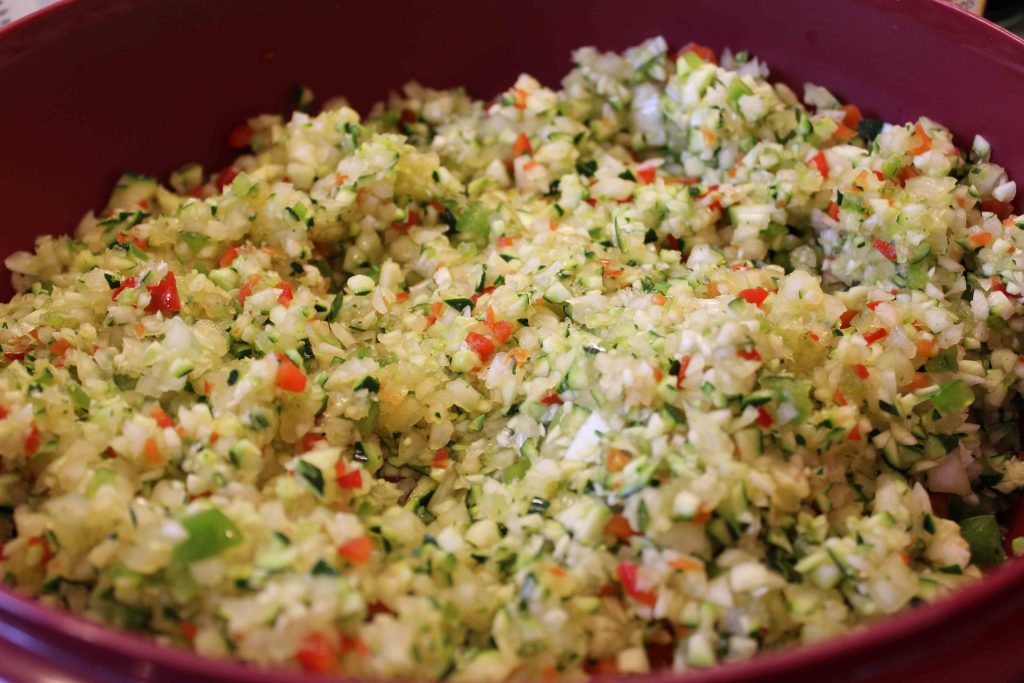
Warming the Jars
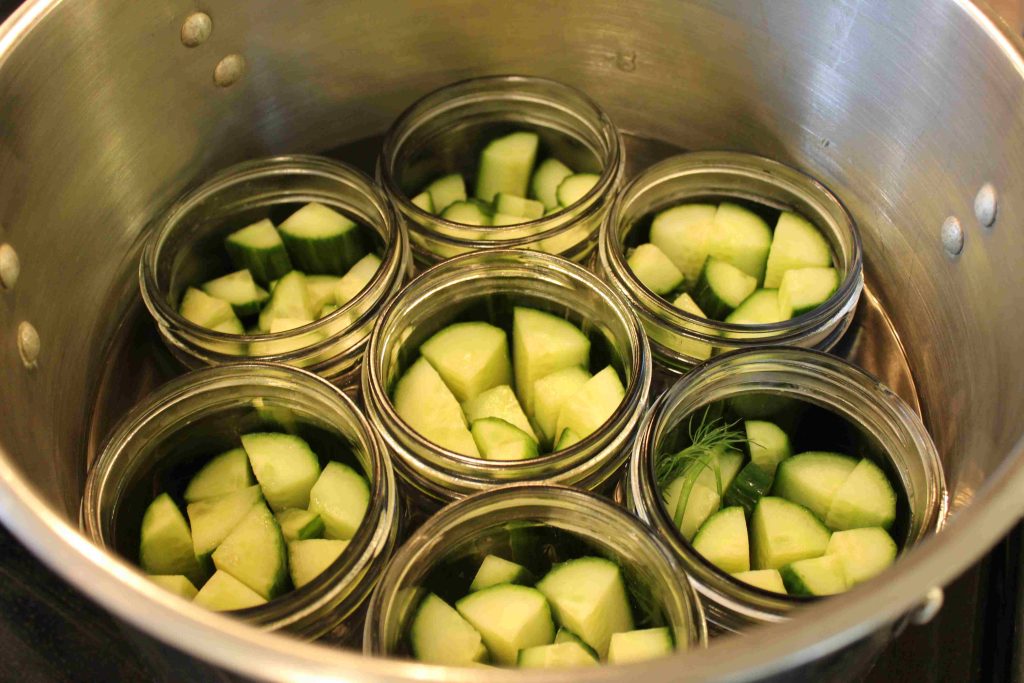
Place the jars into a pot with warm water that does not come near the top. Place these on the stove and keep them at a simmer. Do not let this water boil. We placed these on a rubber trivet. The point of this is to allow the jars to heat a little bit before pouring the boiling hot brine into them so that the jars do not crack. Try to pack as many jars into the pot as will fit so that they do not risk tipping over.
Pouring the Brine into the Jars
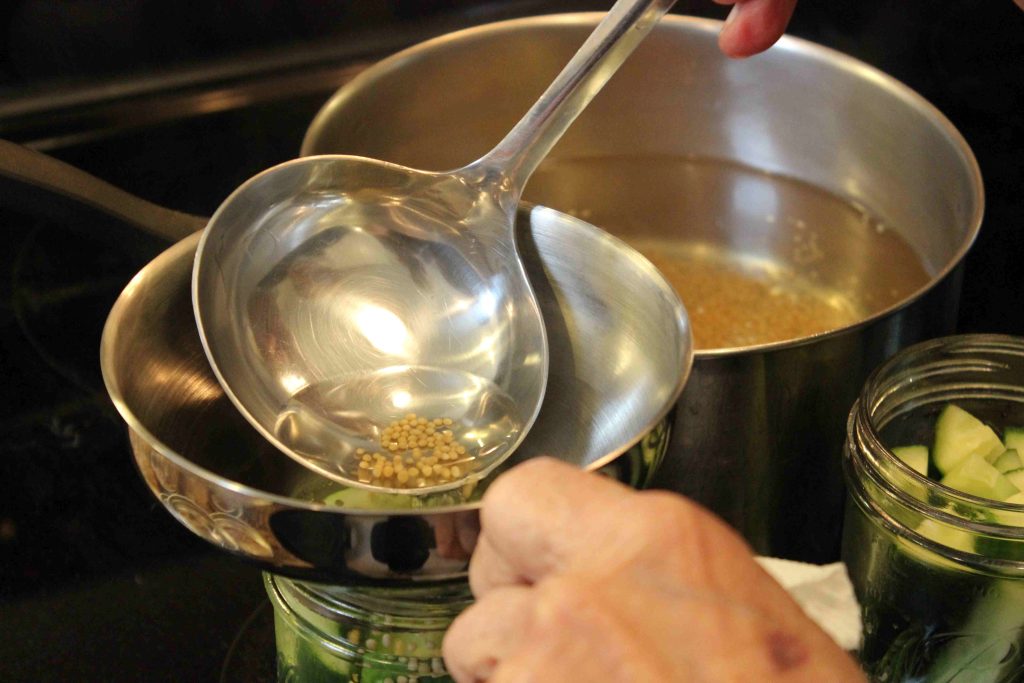
At this point you should have the jars warming in water over the stove and the brine boiling in a pot concurrently. Once the brine is boiling, it is time to pour it into the jars. For this, we used and would recommend a pair of canning tongs to remove the jars from the water. Take them out one at a time, and–using a ladle–spoon the brine into the jars. Use a canning funnel to avoid spillage. Note: As you are pouring the brine in, right before you take a spoonful with the ladle, stir it around a couple of times so that the mustard seeds do not merely settle to the bottom and end up only in the last two jars. Leave about 1/2 inch of headroom (space from the top of the rim downward), and pick up the jars from the rims so as to avoid burning one’s fingers.
Once you are finished pouring, take a magnetic lid lifter and aim the non-magnetic end into the jar and push gently on the cucumbers to disrupt any bubbles. You should see bubbles rising to the top when you do this. Then wipe around the outside of the rim with a wet paper towel to clean off any brine that may have spilled. Then wipe with a dry paper towel. Do this for each jar.
Processing the Cucumbers
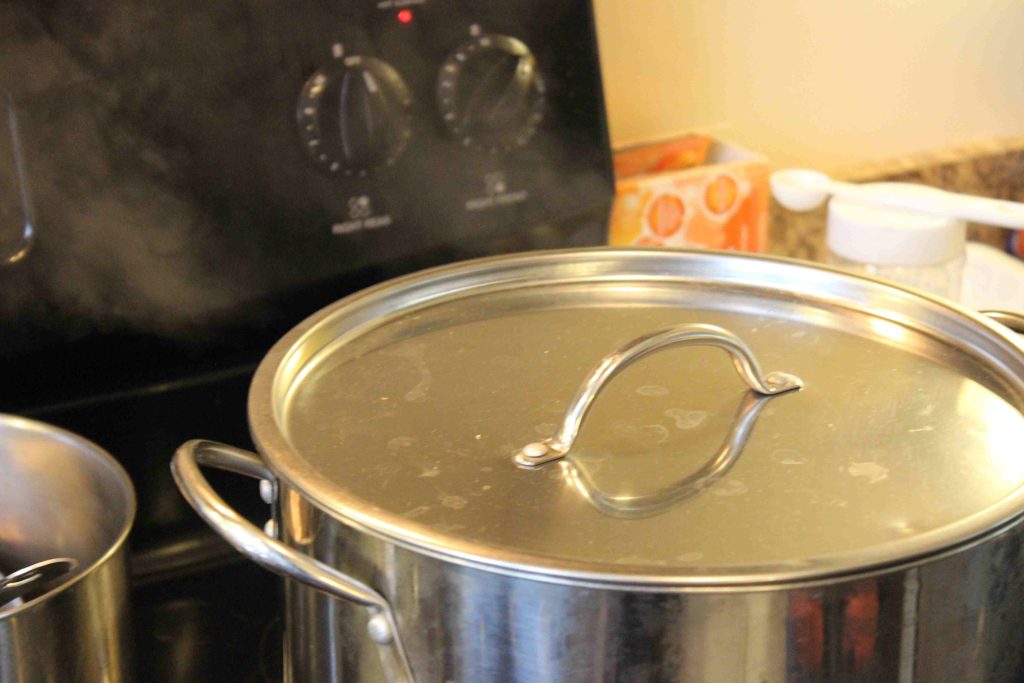
Place the jars back into the water where they had been warming. Now, make sure the water extends about 1-2 inches over the lids, and bring the water to a boil. Cover the pot. Keep the jars on a trivet if you put one in.
Once the water has reached a boil, count off 15 minutes, and after 15 minutes, take the pot off the heat and let it sit, still covered, for 5 minutes.
Then remove the jars from the pot and, using the canning tongs, place them on some dishrags or cardboard, like we used.
Final Steps
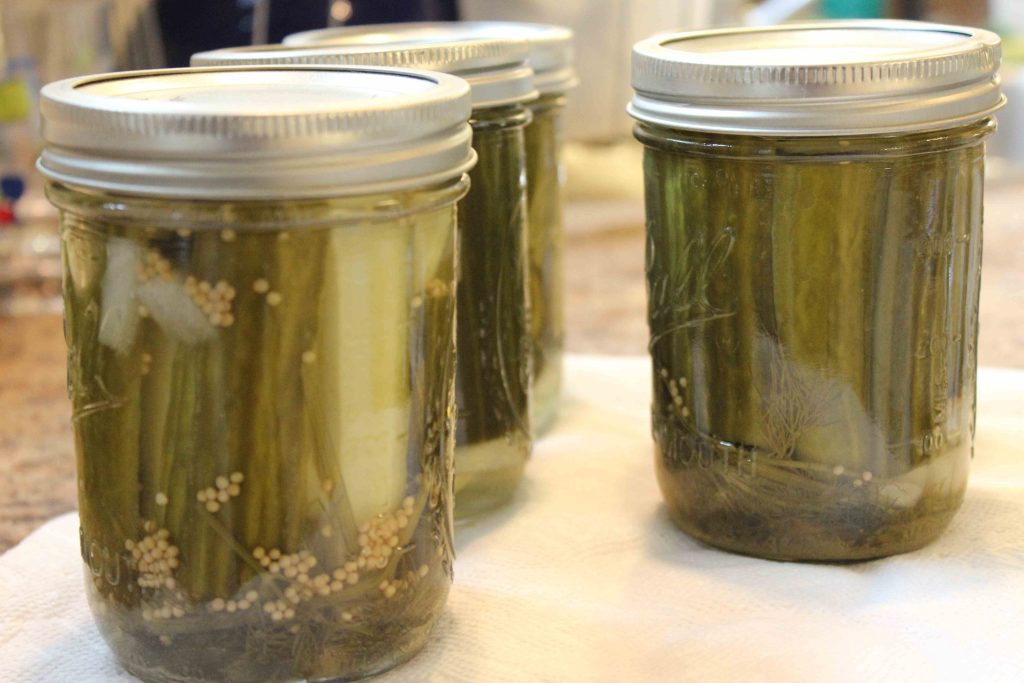
There are a few more things to note at this point. One is that at some point subsequent to this, all of the buttons that are visible on the tops of the canning jars should push down; typically this is accompanied by an audible “pop” sound. Do not become alarmed if the buttons take a few hours or even overnight before they push down.
Also, the gaskets should not be turned tight on these jars; that is okay because the real seal is with the lid, which should be firmly sealed. Make sure to go around and turn the gaskets down tightly without moving the cans around much if possible.
Finally, cover the cans with a dry dishtowel to allow the temperature to remain stable. Leave the cans in place for 24 hours.
History
Canning foods to preserve them began in the first years of the nineteenth century, when Nicholas Apert brought about a form of canning using wax. This was done at the behest of Napoleon to give his troops a way to preserve provisions on long marches. Interestingly, it was not known until Louis Pasteur discovered
Recipe
1 grape leaf per pint jar (optional)
1 English cucumber per pint jar
2 sprigs of fresh dill per pint jar or 2 tablespoons of dill seed
1 teaspoon of sugar per pint jar
1 clove of garlic cut in half per pint jar
1 tablespoon of chopped onion per pint jar
3 tablespoons of mustard seed
6 cups of vinegar
6 cups of water
Why Choose Us
Let us now emphasize on the main benefits that customers will get by your company.
Fastest Work
An attractive line about the heading above.
High Skill
An attractive line about the heading above.
Clean Work
An attractive line about the heading above.
Proper Take Care
An attractive line about the heading above.
Let's Bring Nature Into Your Lovely House
Use these paragraphs to focus on the topic in the headline. Make sure you keep it short and attractive.
